 Add Row
  Add
Add 

Crafting Decorative Brackets for Your Pergola
Creating a standout feature for your workshop can transform the overall aesthetic, and what better way to accentuate your entrance than with a beautifully crafted pergola? In this first installment, we'll delve into the art of making decorative brackets that will hold your pergola with style and stability.
Understanding the Process: Choice of Materials
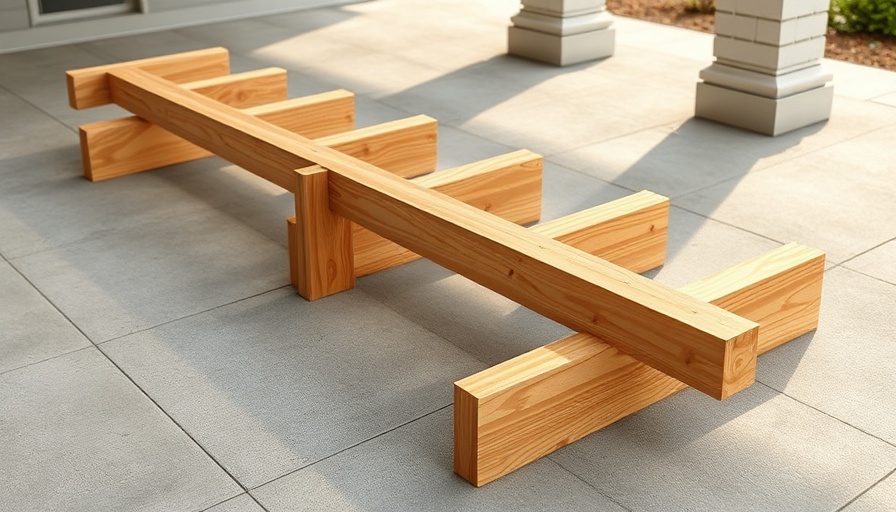
Our journey begins with selecting the right materials. Using a standard 2"x4" provides both the strength and versatility necessary for constructing the decorative brackets. It’s essential to choose quality lumber to ensure durability and reduce the risk of warping over time. Sanding the surface properly with 80-grit sandpaper will enhance adhesion when it comes to applying paint or stain later.
Essential Techniques for a Professional Finish
The technique you use is just as critical as the materials themselves. After cutting your lumber, marking the ends before assembly allows for a precise fit. Drawing a gentle curve at the ends of the brackets not only adds an aesthetic touch but also prevents the risk of splintering during the cutting process with a band saw. Remember, meticulous preparation and smooth sanding lead to a refined final product.
Importance of Secure Joinery Methods
When attaching the pieces together, the process should reflect a combination of speed and strength. Starting with 16-gauge nails ensures that the lumber holds its position while the thicker screws are added for a permanent bond. This step is crucial, as it minimizes the risk of misalignment that can occur if you rely solely on screws from the start.
Final Thoughts on Design Choices
While the brackets might not reach perfection, the beauty of DIY lies within the journey of creation. A personalized touch will not only make your workshop entrance warmer but also ensure that it reflects your unique style. Whether you lean towards intricate designs or prefer a more minimalistic approach, each choice contributes to a cohesive look.


Write A Comment